
Last updated November 18, 2026
 Architectural shingles
 Metal roofing
 Tile roofing
 GAF
 Owens Corning
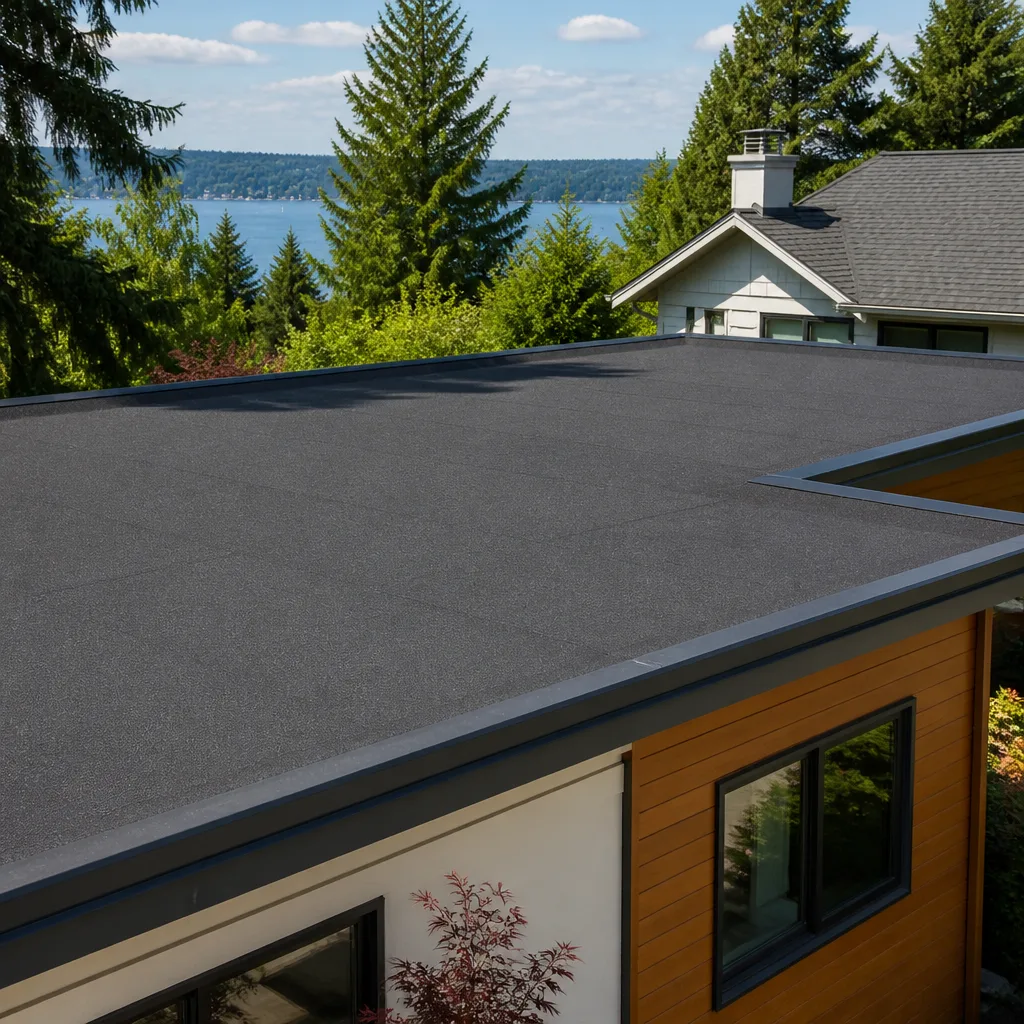 Flat & low-slope
Free roof inspection with deck photos before we talk money - GAF and Owens Corning certified installation
Roof Repair Maintenance Checklist for Summerlin Homeowners
The most expensive repair calls a Summerlin roofer gets don’t come from storm damage. They come from the small stuff nobody flagged: a patch of granules piling up at the bottom of a downspout, a lifted ridge cap, a flashing joint that opened a hairline gap over the summer. Tile, in particular, gets filed under “maintenance-free” by a lot of homeowners, and that assumption is one of the costliest in the neighborhood. This guide is built backward from the failure points that actually show up on Summerlin roofs. You’ll learn what to check after the heat, what to check before and after the monsoon window, what tile genuinely needs, and when to stop looking and call a professional.
Quick Answer
A Summerlin roof needs a structural and material inspection twice a year, plus a debris and drainage check after the July-September monsoon window. Your post-summer pass should cover granule loss, flashing gaps, and ridge cap condition; your pre-monsoon pass should cover drainage, fastened or unsealed penetrations, and low-slope ponding indicators. Tile roofs need specific mortar and re-bedding checks that most homeowners skip entirely.
Styles & brands we work with
- Architectural shingles
- Metal roofing
- Tile roofing
- GAF
- Owens Corning
- Flat & low-slope
Table of Contents
- Why a Summerlin Roof Has Its Own Checklist
- The Post-Summer Inspection: Heat and UV Damage Items
- Pre-Monsoon and Post-Monsoon Checks
- Low-Slope Roofs and Ponding Indicators
- Tile Roof Maintenance: The Tasks Homeowners Miss
- How to Document Roof Condition With Photos Over Time
- Homeowner-Safe Checks vs. Work That Needs a Pro
- Common Mistakes to Avoid
- When to Call a Professional
Why a Summerlin Roof Has Its Own Checklist
Summerlin sits at the edge of the Mojave, and the roof over your head runs a heavier annual cycle than a roof anywhere green. It starts with a long stretch of high, direct sun from roughly May through October. Then the summer monsoon window arrives with fast, concentrated rain against surfaces that have been baking for weeks. Then winter brings the cold snaps: night temperatures low enough to stiffen sealant and put asphalt shingles through repeated expansion and contraction. Three different stressors, three different failure modes, one roof.
That’s why generic seasonal checklists fall short. A spring-and-fall template built for a temperate climate assumes the inspection rhythm follows watering cycles or leaf drop. Roofs in Summerlin don’t have a leaf season in any meaningful way. They have a heat season and a rain window, and the checks that matter most sit right after each one ends.
There’s a second local factor: the mix of roof profiles. The community spans large tile roofs on custom homes, flat and low-slope sections over patios and additions, and shingle roofs on older parcels. Each of those profiles fails differently under desert conditions. A checklist that ignores the profile is only half a checklist.
What follows is written for the homeowner who wants to understand their roof before anything goes wrong. We’ve seen how problems present here, and the order they tend to show up in. Here’s how to track them yourself.
The Post-Summer Inspection: Heat and UV Damage Items
Late October is the right moment to walk your property and look at roof condition from the ground up. The heat season has finished, and every UV- and expansion-related failure has had a full summer to announce itself.
Start with the items that are visible from grade or through binoculars. Never climb a steep tile or shingle roof to complete this pass, and never walk a tile roof at all; it cracks under foot traffic and the fall risk is real.
- Granule accumulation in gutters and at downspout outlets. Asphalt shingles shed granules as they age. Some is normal. Piles of it that build up season after season mean the shingle surface is wearing down, and the remaining granules are what shield your roof from UV. Where you find a lot of grit, note the location. Localized loss is usually wear. Broad, even, fast loss points to something else.
- Flashing expansion gaps. Metal flashing expands and contracts more than the roof around it. After a hot summer, look for a visible gap or separation at chimney, wall, and skylight transitions. A gap about the width of a fingernail is a real water path once rain arrives.
- Ridge cap lift. The shingles along the very top of the roof take wind from both directions and heat from both slopes. Look for a ridge cap that has lifted, curled, or lost its seal down its edges. This is a common post-summer item on shingle roofs and an inexpensive fix compared with the ceiling damage it can cause.
- Cracked or dried sealant at penetrations. Vent boots and pipe collars use sealant that stiffens in the UV. Look for sealant that has cracked, pulled away, or crumbled. This matters most on roofs older than the shingle above them.
- Sun-facing slope comparison. For shingle roofs, compare the sun-facing slope with the shaded slope. If the sun side has visibly thinner, faded, or patchy granules than the shaded side, that differential tells you how far the material has aged, not just its apparent color.
Note the date of every pass. If you’re keeping a log, that’s the beginning of the documentation system described further down.
Pre-Monsoon and Post-Monsoon Checks
The monsoon arrives here as short, intense rainfall across roughly July through September. That’s the phrase’s real meaning for this region: fast rain delivered in bursts rather than the slow, steady systems elsewhere. Flat roof drainage and every small opening on the roof get tested to their limit.
The pre-monsoon pass happens in June. It’s about making sure water can leave the roof cleanly and that nothing on the surface will catch it.
- Clear debris from gutters, downspout outlets, scuppers, and flat-roof drains. Use a gloved hand or a small scoop from the edge; for anything beyond arm’s reach, note it and call a professional.
- Confirm downspouts discharge away from the foundation rather than against it. A downspout that dumps at the wall is a drainage failure as much as a roof one.
- Check every penetration: vent boots, pipe collars, skylight frames, and the sealant around them. Look for gaps, cracking, dried-out caulk, and fasteners that have worked loose.
- Inspect the perimeter, especially at roof-wall junctions. A wall-to-roof transition is where water gets behind a facade most easily.
- Check that the ridge and hip caps are firmly seated and none have lifted.
The post-monsoon pass happens in September or early October, mostly as a damage check. Look for displaced roof material, new gaps, standing water still present well after a rain event, and water staining around vents or ceiling edges. Staining around vent penetration and at skylight frames is one of the most reliable early indicators that the rain got in and the damage didn’t.
Record both passes together. When repair-vs-replace is later on the table, the pair of them shows whether a condition is stable or worsening, and that matters more than any single observation.
Low-Slope Roofs and Ponding Indicators
Flat and low-slope sections are common above patios, additions, and porch areas in Summerlin. They follow different rules from a steep shingle or tile roof, and owners tend to watch them less because they don’t have a street-facing slope.
The rule for a low-slope roof is simple: water should drain off it after rain, not sit on it. Ponding indicators to watch for include:
- Standing water hours after the rain ends. A film that dries is fine. Water that stays on the surface well after the weather clears signals a slope or drainage problem.
- Drain strainers that are blocked or missing. A blocked drain converts a low-slope roof into a bathtub during a monsoon burst.
- Darker, cleaner patches where water pools and rinses the surface. These “drainage rings” show where the low point actually is.
- Bubbling or blistering of the membrane. Trapped air or water under the surface usually means an intrusion and needs professional evaluation.
- Surface cracks and seam separations. Look at seam edges at eye level from the window or from a safe ground position.
Low-slope surfaces should not be walked for inspection unless you know what the membrane is and how it’s supported. On some systems, walking between joists is routine for technicians and genuinely unsafe for homeowners. Stay off.
Tile Roof Maintenance: The Tasks Homeowners Miss
Tile is nearly maintenance-free as a material. The system holding it in place is not. This is the single most common assumption we run into on Summerlin roofs. A clay or concrete tile will shed the sun for decades. But the tile doesn’t hold itself down: the mortar bedding under the ridge and hip caps does, and the underlayment beneath the field tile is a weathering layer that ages out on its own schedule.
These are the tile-specific checks worth doing:
- Look for missing, cracked, or slipped tile. One or two displaced tiles are common after a seasonal cycle; a whole missing run is not. Look from ground level and note each area.
- Check the mortar under ridge and hip caps. Ridge cap tiles sit on a mortar bed. Over time, sun and repeated thermal movement cause the mortar to shrink, crack, and eventually crumble. Look for crumbling material, hollow gaps, or caps that look unsupported. Failed mortar at the ridge is exactly where driving monsoon rain can enter.
- Watch the hip and ridge lines for alignment. A row of ridge tiles out of line means the bedding below has started to fail. If the ridge line “sags,” the bedding failure is well along and needs professional attention.
- Note tile-to-tile crowding and walking damage. Any time someone walks a tile roof, tiles can shift, and cracks may not show until months later. If a technician, utility worker, or anyone else was on your tile roof, add a visual check of that area to the next pass.
- Track underlayment age separately from tile. The tiles on a Summerlin roof can outlast the underlayment beneath them by a wide margin. As the roof near the age where the underlayment is a concern, the inspection cadence should tighten even though the tile looks fine.
Re-bedding is a real repair: the damaged mortar is raked out and replaced. That’s a job for trained professionals because the ridge assembly is part of the roof’s wind resistance. It’s not a homeowner task. Whether the correct answer is re-bedding, or whether a wider inspection is due, depends on what you find, and that’s exactly the question a Roofing Summerlin inspection is built to answer.
How to Document Roof Condition With Photos Over Time
The gap between repair and replace is where a lot of roof decisions go sideways. A homeowner looks up at a shingle slope, sees it’s grayer than it was three years ago, and feels a decision coming. Instead of guessing, track it. Evidence-based roofing means you have something to compare, not a memory.
Here’s a documentation routine anyone can run:
- Set a fixed photo position for each side of the roof. Put a physical marker – a small stake, a taped spot on the fence, a line on the ground – and photograph all four elevations from the same spot every time.
- Shoot within the same two-week window every year. Sun angle changes color dramatically. Same season, same time of day, same framing, or the photos won’t compare.
- Photograph problem areas directly. Granule piles in downspout outlets and at gutter troughs, cracked flashing sealant at every penetration, ridge line and hip line alignment. Include something for scale: a coin or a piece of tape at the frame edge.
- Photograph low-slope surfaces from inside and outside after rain. Water-drainage rings and remaining ponding are meaningful. Inside, look for ceiling staining and photograph it monthly if there is any.
- Keep a written log with every photo set. Date, roof section, what you observed, and whether it changed since the last pass. A simple notebook or a folder on your phone works.
- File every professional inspection report and written estimate alongside the photos. A written inspection record is more useful than a verbal “it looked okay,” because future decisions can be made on measured condition.
Two years of photo sets will settle most repair-vs-replace questions on the spot. A written estimate, with a baseline condition noted, then becomes the reference for the next inspection.
Homeowner-Safe Checks vs. Work That Needs a Pro
It’s worth drawing this line clearly. Some roof checks are genuinely safe from the ground and give you real information. Others put you at physical risk. And on a tile roof, walking it will cause damage even where it doesn’t hurt you.
Homeowner-safe:
- Binoculars from ground level, checking the field tile or shingle condition, the ridge, the hips, and the skyline for obvious displacement.
- Gutter and downspout cleaning from the ground or a stable ladder, only where your feet are on a solid base and the work doesn’t require leaning.
- Ceiling and interior checks: water stains at ceilings, cornices, and vent collars. This is often the earliest signal of a roof intrusion.
- Photo documentation from the fixed positions described above.
- Seasonal log keeping and keeping the inspection record.
Professional-only:
- Anything on a steep tile or shingle slope. Tile cracks underfoot, and a fall from a roof is a medical emergency, not a repair. This isn’t a caution we pad into the copy; it’s the reason inspection is our first service.
- Ridge cap, hip, and mortar inspection that requires walking the ridge line.
- Flashing and penetration sealant work on the surface.
- Any low-slope membrane where you don’t know how the deck is supported.
- Anything that involves a ladder against the roof edge at an awkward angle or in wind.
The safe checks are there so you arrive at an inspection conversation knowing what you’re looking at. When something looks wrong to you, or the photos show change, that’s when you make a call. If you want a second opinion on the condition you’re seeing, roof inspection is a standalone service, not a sales funnel: the point is to find out, not to sell.
Common Mistakes to Avoid
- Treating tile as maintenance-free. The tile itself is durable, but the ridge mortar and the underlayment beneath it have their own clocks. Skipping the ridge mortar check is the most common tile mistake we see in Summerlin.
- Reading granule loss as “normal aging” without context. Some granule shedding is expected. But when the sun-facing slope has lost noticeably more than the shaded slope, that differential deserves a professional look, not a shrug.
- Skipping the pre-monsoon drainage check. A blocked downspout outlet or scupper turns a short July rain burst into water against the wall. Debris clearing is a five-minute task; the water path it prevents is much worse.
- Walking a tile roof to “see for yourself.” It cracks tiles you can’t easily see from above and puts you at a fall risk. From the ground with binoculars is how it’s meant to be done by anyone who isn’t a trained roofer.
- Calling for a full replacement before a proper inspection. A failing ridge, cracked mortar, or one displaced tile is usually a repair, not a replacement. The two are different services for a reason; starting with a replacement call before anyone has inspected the roof is backwards.
- Not taking photos at fixed positions. Without a baseline, repair-vs-replace becomes a feeling rather than a comparison. Two years of matched photos turn a guess into a decision.
- Skipping the post-monsoon pass. The pre-monsoon check gets the attention because it’s about preventing a leak. The post-monsoon check is where you find out whether a leak happened, and if you caught it while the damage is small, you repair it while the damage is small.
When to Call a Professional
Call for a professional inspection when any of the following is true:
- You notice water staining at a ceiling, vent collar, or skylight frame. Interior staining is the most reliable early sign that water is getting in.
- You see a gap or cracked sealant at any flashing, and it’s been there for months.
- You find displaced, cracked, or missing tiles, or mortar crumbling at the ridge line.
- Your low-slope roof holds standing water hours after rain, or its membrane is bubbling.
- Your photos show a condition that has clearly worsened between one pass and the next.
- The roof is at an age where the underlayment on a tile system, or the shingle field on a shingle roof, is entering its last third of life.
A professional inspection establishes the actual condition, tells you what needs repair and what doesn’t, and gives you a written basis for deciding whether repair or replacement makes sense. Inspections and roof repair are two different conversations, and the inspection should always come first. Roofing Summerlin offers free estimates in Summerlin. Call (833) 932-1305 to schedule an inspection. We answer 24/7. Fast dispatch from 7am to 7pm, Sunday through Friday.
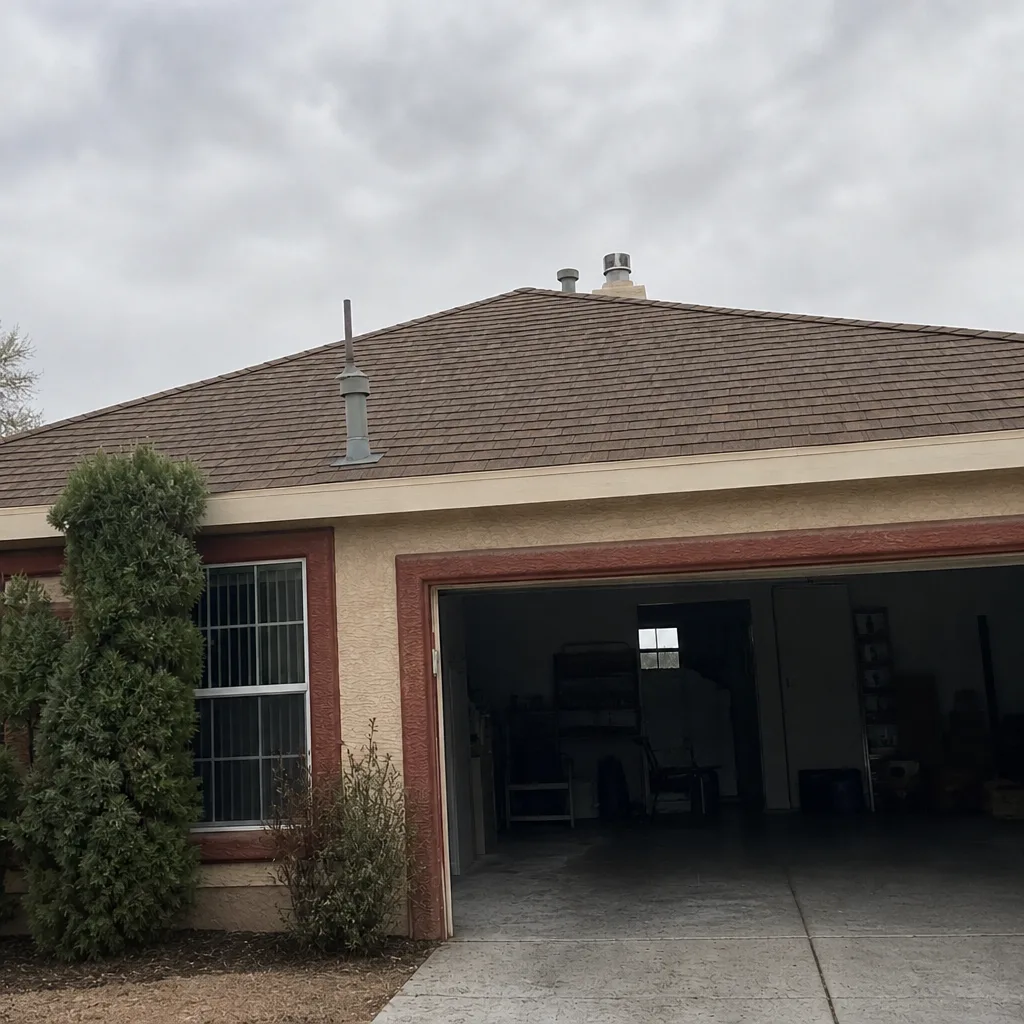
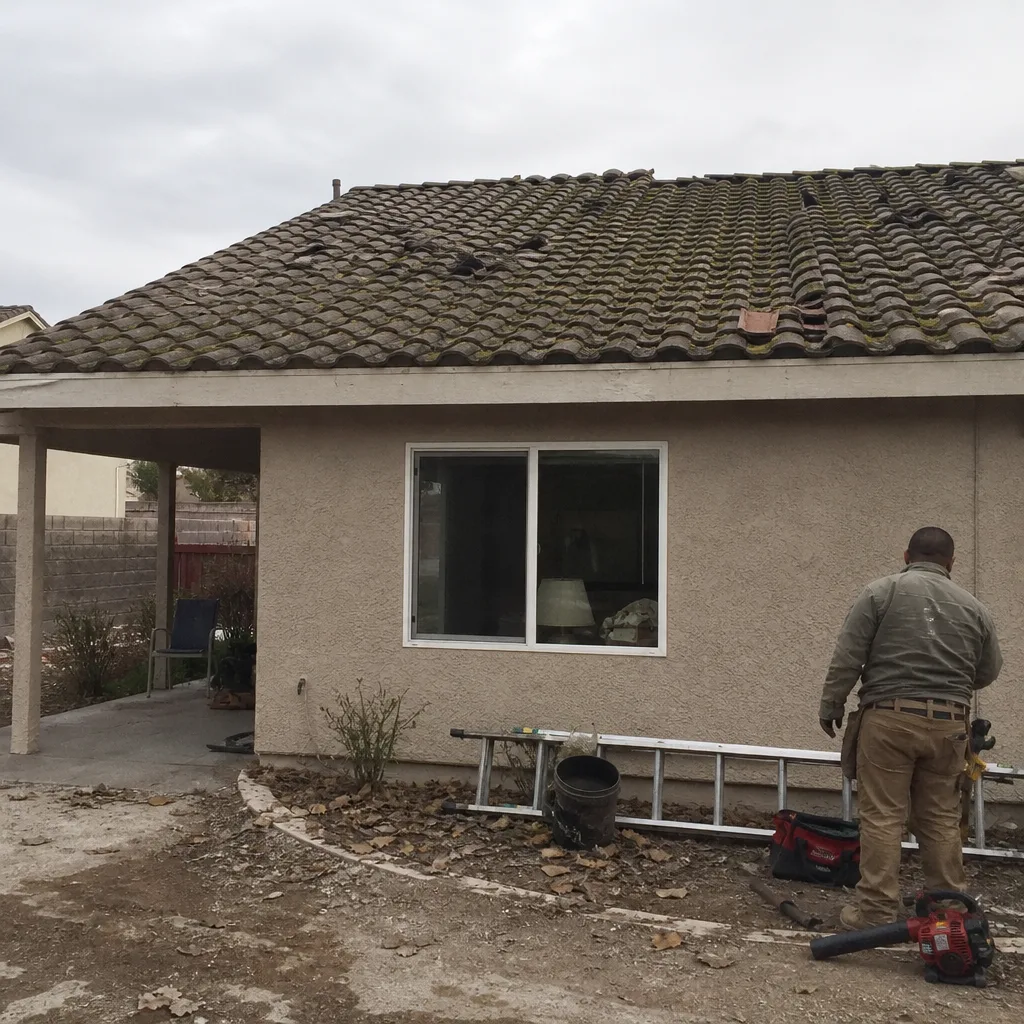
See the difference
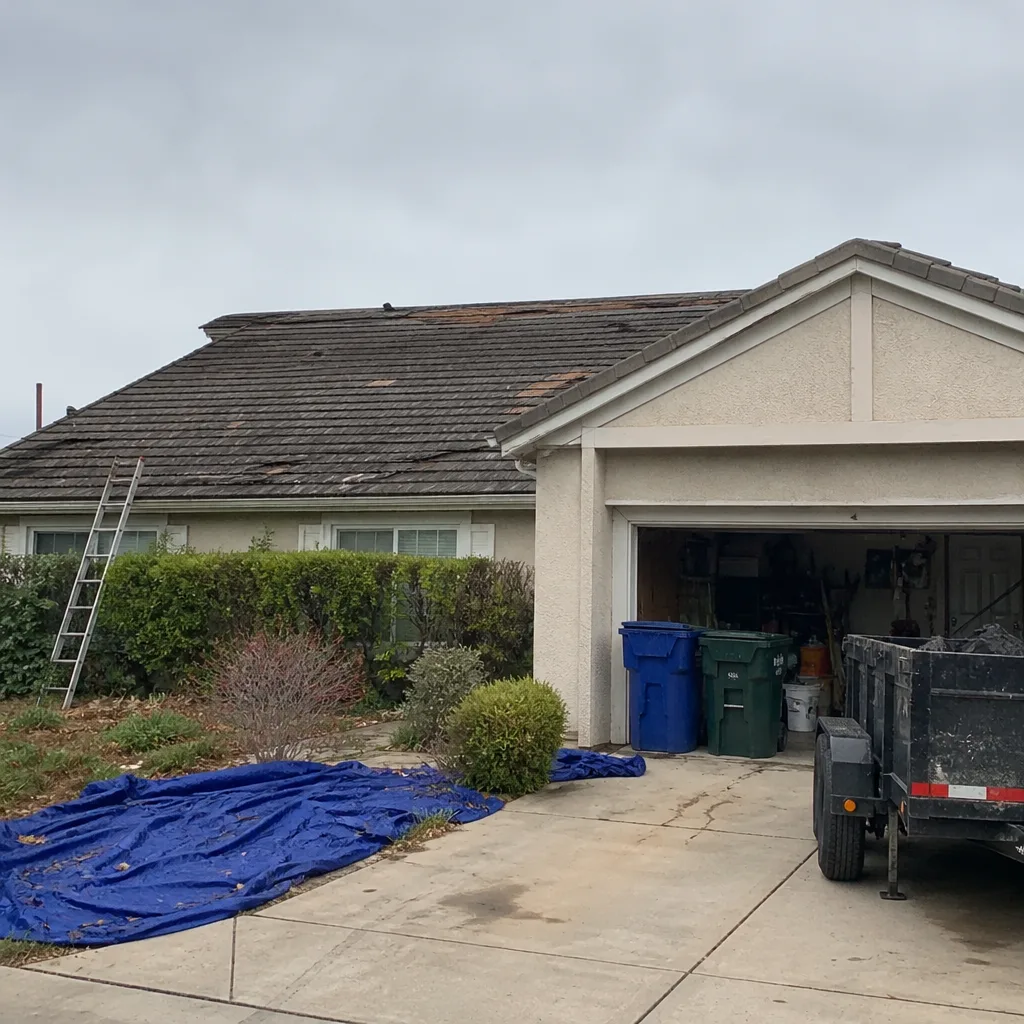 Before
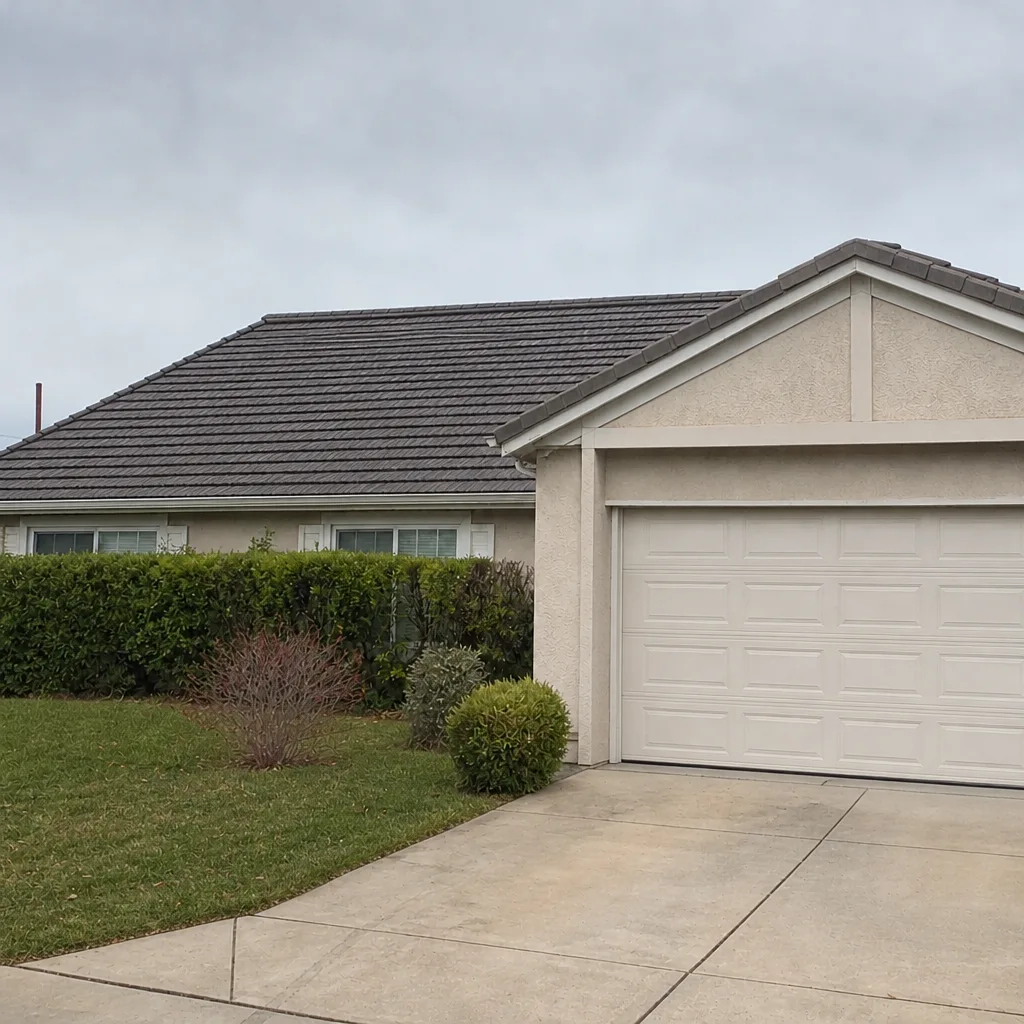 After
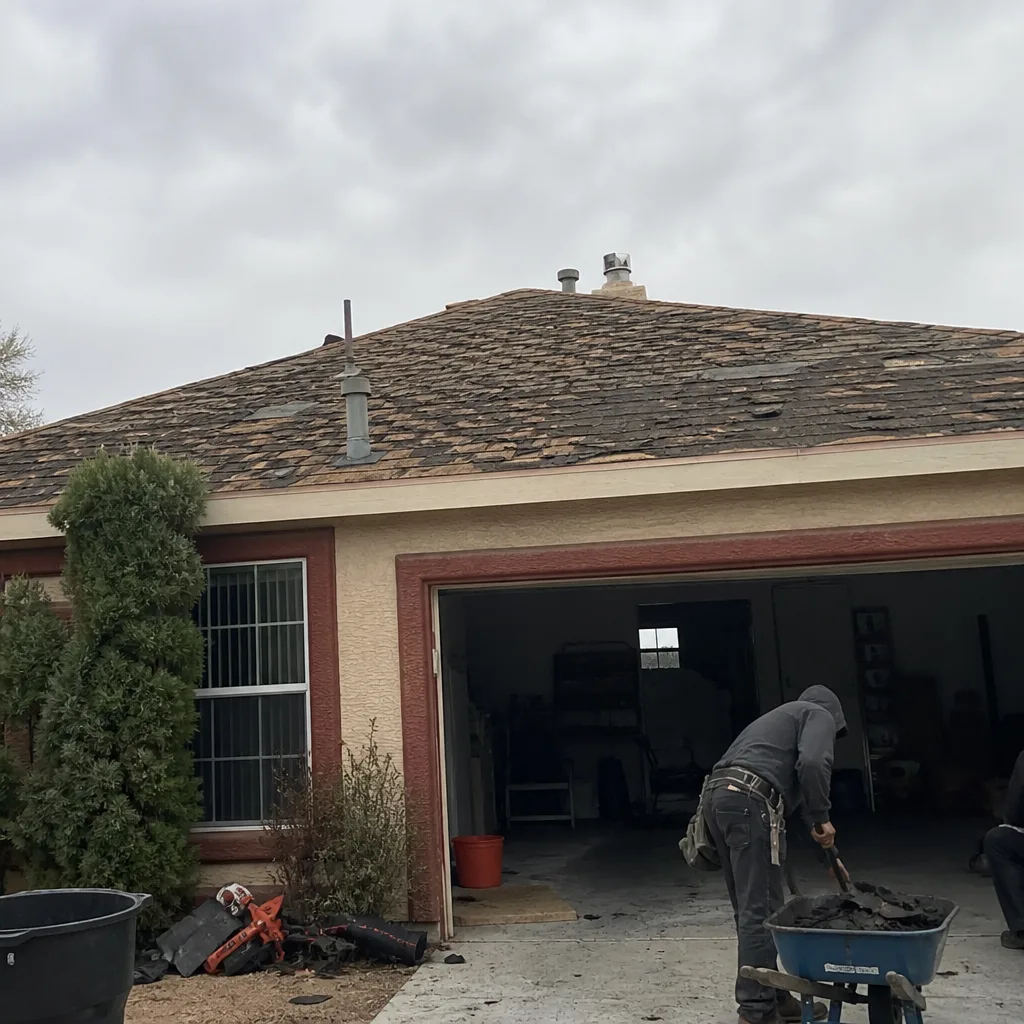 Before
 After
 Before
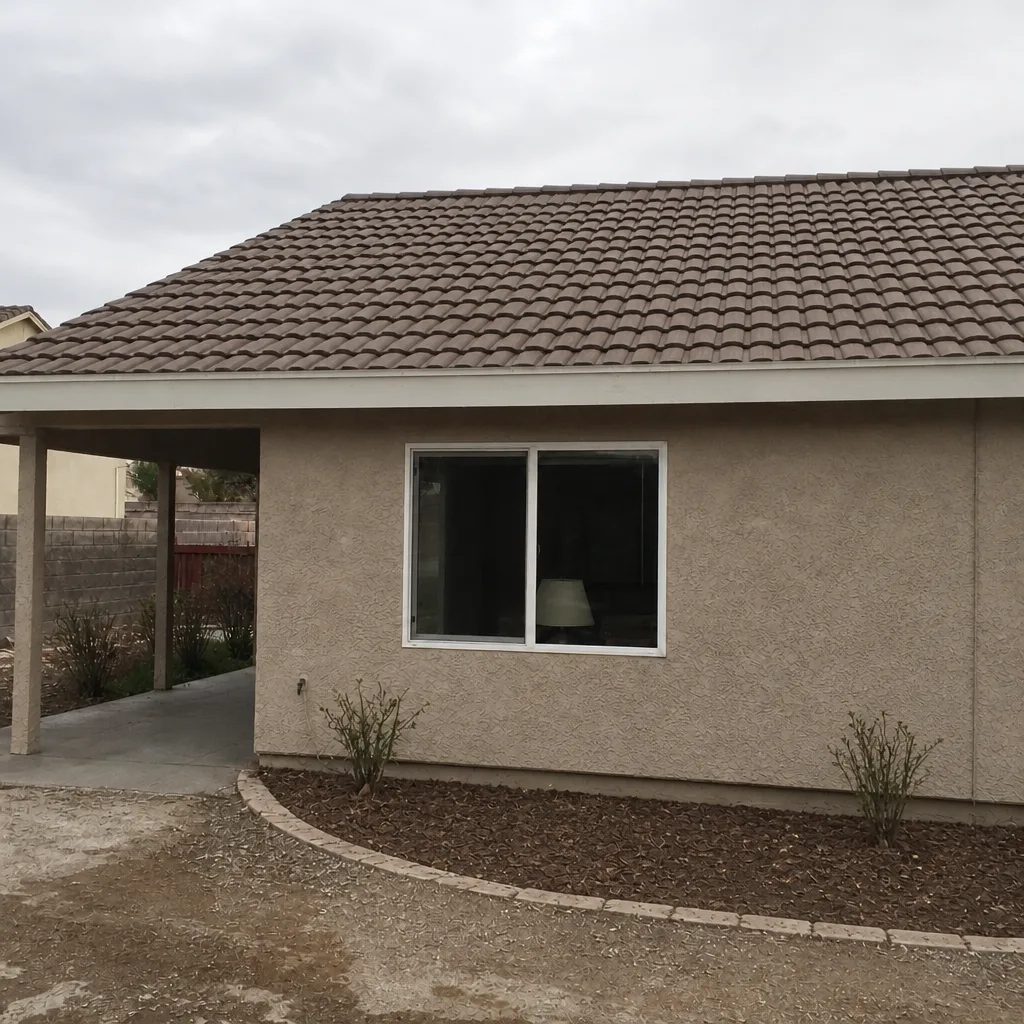 After
Frequently Asked Questions
Twice a year, plus a debris and drainage clearing after the monsoon window. A solid rhythm is a June drainage pass before the rain window, an October pass after the heat season, and a visual check after any significant rain event. Roofs over what you’d call mid-life benefit from the same twice-a-year schedule with a closer look at the specific failure points each time.
Yes, but the tile isn’t the part that needs it. The mortar bedding under the ridge and hip caps cracks and shrinks over time, and the underlayment beneath the field tile ages out independently. Both are worth checking; both call for a trained professional because the ridge assembly is structural. If you see faded or crumbling mortar or a ridge line out of alignment, have it inspected before the rain window.
Compare the same photo positions across at least two years, then have a professional inspection confirm the trend. A localized problem in otherwise sound material – a cracked ridge, one flashing gap, a displaced tile – is usually a repair. Widespread granule loss with a visible sun-slope differential, underlayment at the end of its life, or repeat leaks at the same spot after repair point toward replacement. When it is time to replace, one of the value brands like IKO or Atlas makes a solid mid-range choice, while Boral covers tile replacement needs on homes that use it. We install GAF, CertainTeed, Owens Corning, IKO, Atlas, Tamko, and Boral, so the conversation is about your roof and budget, not a single product line. Call (833) 932-1305 for an exact quote. Estimates are free.
Not safely on a steep tile or shingle roof, and never on tile at all. Tile cracks underfoot without necessarily breaking all the way, and walking a roof carries a real fall risk. Do the safe checks from ground level with binoculars and the interior checks from inside. Anything that needs feet on the roof is a professional inspection.
Drainage rings and standing water hours after rain ends. You’ll also see dark, cleaner patches where water evaporates off and rinses the surface. Bubbling or blistering of the membrane usually indicates trapped air or water under the surface. Any of these means the low-slope section should be inspected professionally rather than watched.
Granule accumulation in gutters and downspout outlets, flashing expansion gaps, ridge cap lift, cracked sealant at penetrations, and, for shingle roofs, the sun-facing versus shaded slope comparison. On tile, add ridge and hip mortar checks and tile displacement. A full inspection also records the condition you find so the next pass has something to compare against. When it’s time to replace or repair, one team handles it from inspection through roof replacement if that’s needed.
The Bottom Line
Summerlin roofs fail in a predictable order: heat season first, monsoon window second, winter cold snaps third. A checklist built around that order – post-summer material checks, pre- and post-monsoon drainage checks, tile ridge and mortar checks, and fixed-position photo documentation – catches most of it before it becomes a call. The one thing not to skip is documenting condition over time, because that’s what turns a repair-or-replace question into an answer. Inspections are free and the estimate is in writing. Our technicians have up to 8 years of experience. Call (833) 932-1305 to schedule yours. We answer 24/7. Fast dispatch from 7am to 7pm, Sunday through Friday.
Written by the team at Roofing Summerlin.