
Last updated November 18, 2026
 Architectural shingles
 Metal roofing
 Tile roofing
 GAF
 Owens Corning
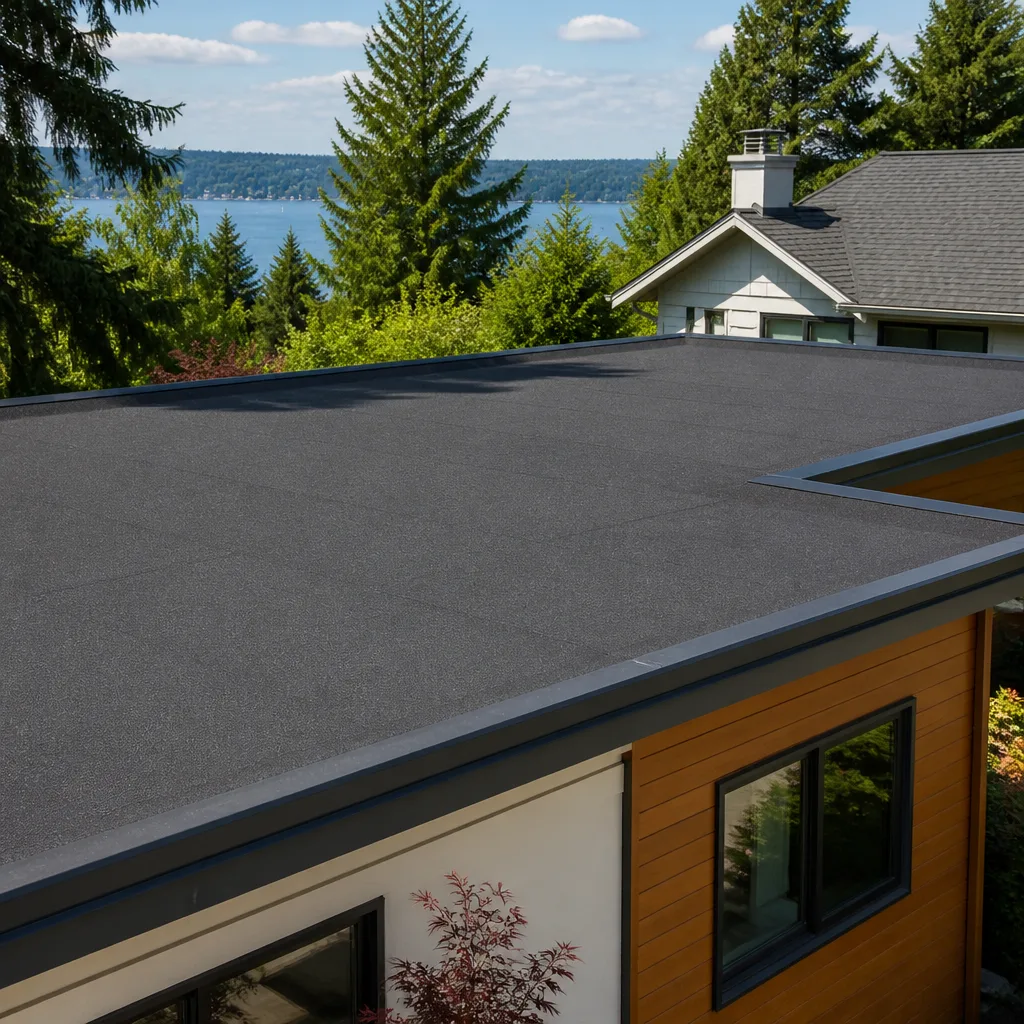 Flat & low-slope
Free roof inspection with deck photos before we talk money - GAF and Owens Corning certified installation
Roof Repair Troubleshooting in Summerlin: Common Problems and How to Fix Them
A water stain on your ceiling after a Summerlin monsoon storm is almost never caused by a hole directly above it. Leak paths in low-slope and tile roofs can travel six feet or more horizontally before showing up inside, which is why chasing the wrong spot is the most expensive troubleshooting mistake homeowners make. The stain appears where water finally finds a path through the drywall, not where it entered the roof. This guide maps what you see inside back to the most likely cause outside, so you can walk your own roofline with some idea of what you’re looking at before anyone gets on a ladder.
Quick Answer
Most roof leaks in Summerlin start at the same handful of places: valley flashing, pipe boot seals, parapet walls, slipped tiles, and foam roof blistering. The interior symptom rarely sits under the exterior cause. A repair is a true fix only when the source is found and corrected; patching the stain or the ceiling is a symptom-mask that buys you one or two seasons at best.
Styles & brands we work with
- Architectural shingles
- Metal roofing
- Tile roofing
- GAF
- Owens Corning
- Flat & low-slope
Table of Contents
- Mapping Interior Symptoms to Exterior Causes
- The Five Most Common Summerlin Roof Failure Points
- Monsoon Leaks and Summer Dry Spells: Why the Calendar Lies
- How to Document Roof Problems Before a Contractor Visit
- True Repair vs. Symptom-Mask: How to Tell the Difference
- When Repair Is the Right Call and When It Isn’t
- Material Choice and Why It Affects What Fails
- Why a Standalone Inspection Is Worth Doing First
Mapping Interior Symptoms to Exterior Causes
The single most useful troubleshooting skill on a roof is knowing that water travels. It runs along the underside of decking, follows framing members, and drops at the first opening it finds. On the tile roofs and low-slope sections common across Summerlin, that horizontal travel can be dramatic. Here’s how interior symptoms usually map to the outside.
Brown or Yellowish Ceiling Stains
A water stain with a defined edge usually means an active or recent intrusion, not an old one. If the stain is on an exterior wall side of the room, the source is often a wall-to-roof transition or a parapet detail above it. If it sits toward the interior of the house, look uphill on the roof, not overhead. On a low-slope roof, that can mean several feet of horizontal travel.
Bubbling or Peeling Paint
Paint that blisters without a visible drip is often a slower, low-volume leak that keeps the substrate damp rather than wet. It tends to point to a penetration seal that’s cracked but not open, such as a pipe boot or fastener seal, rather than a hole you can see.
Musty Attic Smell
A musty smell in the attic or from the ceiling often signals moisture trapped in insulation or decking rather than a visible leak. That can come from a small persistent intrusion, failed underlayment, or blocked ventilation working together. It’s one of the hardest symptoms to trace from the ground, and one where a proper inspection pays for itself.
Soft or Spongy Ceiling Drywall
Drywall that gives when pressed has been wet for a while. At that point the leak is not new, and the repair scope usually includes checking for damaged framing, not just sealing the roof.
- Stain with a sharp edge: likely recent or active intrusion.
- Stain that grows slowly over months: often a small, persistent seal failure.
- Bubbling paint, no drip: usually a penetration or flashing detail.
- Musty smell in the attic: trapped moisture, possibly a ventilation issue too.
- Soft drywall: long-term moisture, check framing and insulation.
The Five Most Common Summerlin Roof Failure Points
Roofs in Summerlin fail at the same weak points over and over. Knowing what each one looks like from the ground or from a safe vantage point gives you real information heading into a repair conversation.
1. Valley Flashing
Where two roof planes meet, water is concentrated. Valley flashing that has pulled, rusted through, or lost its seal is a classic leak source. On a tile roof, a slipped valley tile exposes the flashing underneath almost immediately. Look for a valley that looks irregular or gaps between the tile and the valley metal.
2. Pipe Boot Seals
Plumbing vents and conduit penetrations are sealed with boots, and those boots have a rubber collar that degrades. The collar cracks, water runs the pipe, and the ceiling stain shows up in a room that has nothing to do with the roof above. This is one of the most common and least expensive things to fix when caught early.
3. Parapet Walls
Flat roofs with parapet walls fail at the wall-to-roof junction, at the wall cap, and at the coping that sheds water back onto the roof. On Summerlin’s stucco and foam-faced parapets, cracks in the wall finish can allow water in behind the finish. Look for cracked stucco along the parapet, a missing cap, or staining below the cap line.
4. Tile Slippage
Walking a tile roof or inspecting from a ladder often reveals tile that has slid, cracked, or lost its fastening. A slipped tile lets sunlight and water directly onto the underlayment beneath, which ages quickly once exposed. A missing or shifted tile near a ridge or hip is easy to spot from the ground with the right angle.
5. Foam Roof Blistering
Sprayed foam roofs are common on some Summerlin properties, and the failure signal is a blister: a bubble where the foam coating has separated from the substrate or where trapped moisture has pushed the coating up. Blisters that open mean the foam and decking beneath are vulnerable.
Monsoon Leaks and Summer Dry Spells: Why the Calendar Lies
Summerlin’s monsoon season produces short, intense storms, and then long stretches of dry heat. That cycle creates false confidence. A roof that leaks in July may look dry and sound in August. The dry period doesn’t fix a failed seal; it dries the surface and hides the evidence.
What actually happens during a dry spell is the material working. Heat causes roofing materials to expand and contract, which opens small gaps at fastener and flashing details. A crack that looked fine in the dry season is often the first thing that lets water in at the next storm. In our experience, the window between storm events is exactly when the next leak gets set up.
What to Check Between Storms
- Look at the underside of the roof deck from the attic access for new staining or dampness.
- Check the ceiling of rooms along exterior walls, which often show the leak first.
- From ground level, scan the roof edges, valleys, and ridges for anything visibly out of place.
- Look at the pipe boot collars for cracking, which is one of the quickest things to spot from a ladder.
- Check for cracked stucco along parapet walls after a hot stretch.
The point of checking between storm events isn’t to diagnose the roof yourself. It’s to catch problems while they’re small, which is the difference between a repair and a replacement. When you do find something, the fastest way to get eyes on it is to schedule an inspection rather than wait for the next storm to confirm it. For a closer look at what we cover, see roof repair.
How to Document Roof Problems Before a Contractor Visit
Good documentation makes the repair conversation faster and more accurate. But you should never get on the roof to take it. Roofing is height work, and a fall is not a risk worth taking to photograph a cracked boot. Here’s the safe way to gather what you need.
From Ground Level
- Take photos of the roofline and valleys from a few angles with your phone, zoomed in as far as the lens allows.
- Photograph the visible penetrations, like vents and conduit, from the ladder-free side of the house.
- Note the orientation of the affected area and the time of day the stain appeared or worsened.
- Take a photo of the interior stain with something for scale, like a piece of painter’s tape beside it.
From the Attic
- With a strong flashlight, photograph the underside of the roof deck near the affected area.
- Look for dark staining, water lines, or damp insulation.
- Photograph the ventilation openings, which can help explain musty smells.
- Do not crawl into tight spaces or disturb insulation that looks damaged or damp.
What Not to Do
- Don’t walk the roof, even a low-slope one.
- Don’t scrape, seal, or caulk anything before a pro sees it, since that can make the source harder to identify.
- Don’t poke or pull at flashing or foam blisters, which can open a small problem into a big one.
- Don’t operate attic fans or wiring that looks water-damaged; call a professional.
Documentation helps, but it doesn’t replace a trained eye. A proper inspection looks at what you can’t see from inside the house, and that’s where the actual diagnosis happens. Learn how we handle the full scope through Roofing Summerlin.
True Repair vs. Symptom-Mask: How to Tell the Difference
A true repair finds the source of the water and corrects it. A symptom-mask treats the ceiling, or seals around a guess, without addressing the actual failure. The difference matters because a symptom-mask usually comes back the next rainy season, and sometimes worse.
Signs of a True Repair
- The source was identified from the exterior, not assumed from the interior stain location.
- The failed component, such as the flashing, boot, or tile, was replaced, not just sealed over.
- The repair accounts for how water moves along the roof, not just where it shows up inside.
- The work addresses drainage and ventilation where those contribute.
Signs of a Symptom-Mask
- A spot-sealed stain or a fresh coat of paint over damp drywall.
- Sealant smeared over flashing without replacing it.
- A repair that doesn’t address why the roof failed in the first place.
- No diagnosis of the exterior source, only a patch at the interior symptom.
The tricky part is that some symptom-masks do hold for a season or two. That delay can be the difference between a repair budget and a replacement budget. A small, correctly diagnosed issue is typically handled as a repair; an issue that keeps returning at the same or nearby points usually means the underlying assembly is at the end of its life. When that becomes the case, the conversation shifts to roof replacement.
When Repair Is the Right Call and When It Isn’t
Most roof problems are repairable. But not every roof problem is a repair problem. The decision usually comes down to a few practical factors.
- Isolated failure: a single boot, flashing section, or slipped tile is usually a repair.
- Widespread underlayment failure: if the underlayment is failing across a large area, repairs rarely hold.
- Age and condition: a roof nearing the end of its service life with multiple issues will keep consuming repair budget.
- Hidden damage: soft decking or water-damaged framing can change the scope quickly once discovered.
We inspect first. If repair is the right call, we’ll tell you. If it isn’t, we’ll show you why: photos of the failing area, the extent of the damage, and the cost tradeoffs. That transparency matters, because a roof replacement is a long-term decision, often 20 to 30 years of the home’s life, and it deserves an honest conversation about materials rather than a push toward whatever is easiest to install.
Where a repair is appropriate, we fix the specific failure and correct the conditions that caused it. Where replacement is the better call, we plan it, explain the material options, and handle the installation. One team across the full lifecycle, which is what keeps a repair from turning into a patch and a patch from becoming a repeat problem. If you’re weighing the two, the honest first step is a real inspection in Summerlin.
Material Choice and Why It Affects What Fails
What a roof fails at depends largely on what it’s made of. Summerlin has a mix of roof types, and each has its own typical weak points. That’s why material selection is part of troubleshooting, not a separate conversation.
Tile Roofs
Tile roofs can last a long time, but the failure isn’t usually the tile itself. It’s the underlayment beneath, the fastening, and the valley and penetration details. Slipped tiles expose the underlayment to sun and water, which ages it quickly. Restoring the tile system is often about the details and the underlayment, not just replacing a few tiles.
Low-Slope and Foam Roofs
Low-slope roofs concentrate water and rely on coatings and flashing to keep it out. Foam roofs fail at blisters and at parapet junctions. Membrane roofs fail at seams, edges, and penetrations. In both cases, drainage and coating condition determine how long the roof holds up.
Shingle Roofs
Shingle systems fail at the same valley, boot, and flashing points, plus normal aging of the shingles themselves. Material quality and installation quality both matter, which is why the brand and product line you choose affects the lifespan.
We install materials from seven leading brands: GAF, CertainTeed, Owens Corning, IKO, Atlas, Tamko, and Boral. That range is deliberate. Eight brands on the roster means no financial pressure to steer you toward one product line, so your recommendation is based on your roof and your budget, not on what we happen to stock. If you’re comparing warranty tiers, having multiple manufacturers in play lets you see how coverage differs before you commit.
Why a Standalone Inspection Is Worth Doing First
Many homeowners call a roofer only when there’s a leak. But a leak is a symptom, and by the time water shows inside, the roof has usually been failing for a while. An inspection works better as a first step than as a reaction to a visible problem.
An inspection identifies the problem before any repair decision is made. It’s not a sales funnel. It’s an honest condition assessment: what’s failing, why, what’s holding up well, and what the realistic options are. That’s especially useful before a repair, because the inspection may show that the issue is isolated and truly repairable, or that a small leak is the first sign of a broader problem.
- Identifies the actual source, not just the interior symptom.
- Separates repair scope from replacement scope.
- Documents current condition for warranty or insurance discussions.
- Gives you a baseline to compare against if you get a second opinion.
We treat inspection as a standalone service. You can get an honest assessment without committing to any repair or replacement spend, and the findings are useful whether you hire us or not. Our technicians have up to 8 years of experience, and the assessment is grounded in what’s actually on the roof, not a script. The next step after an inspection is usually a written, line-item estimate so you can see exactly what’s involved before anything is touched.
Common Mistakes to Avoid
- Chasing the ceiling stain, not the roof. Painting over a stain or sealing the drywall does nothing about the water path above, and the problem returns the next rainy season. On a low-slope roof, the actual source may be several feet from where the stain appears.
- Assuming the dry season means the roof is fine. A Summerlin roof that didn’t leak in July can fail in the heat of August. The dry period hides the evidence, which is exactly when to check the details.
- Sealing over flashing instead of replacing it. Caulk or sealant on failed flashing is a temporary symptom-mask. The flashing itself usually needs replacing, and a spot repair should be treated as a hold, not a fix.
- Walking the roof to inspect it yourself. Height work is dangerous and it’s the fastest way to crack a tile, degrade a foam blister, or put yourself at risk. Document from the ground and the attic instead.
- Waiting for a slow leak to become a fast one. A small ceiling stain that grows over months is an active leak. Left alone, it can damage insulation, decking, and interior finishes well beyond the roof repair budget.
- Choosing a roofer on price alone. The cheapest repair is often a symptom-mask, and it costs more when the real fix is finally made. Ask what’s actually being replaced, not just how much sealant is being applied.
- Skipping the inspection before a repair. A repair without a diagnosis can miss the source. An inspection is the step that tells you whether the fix you’re paying for is the right one.
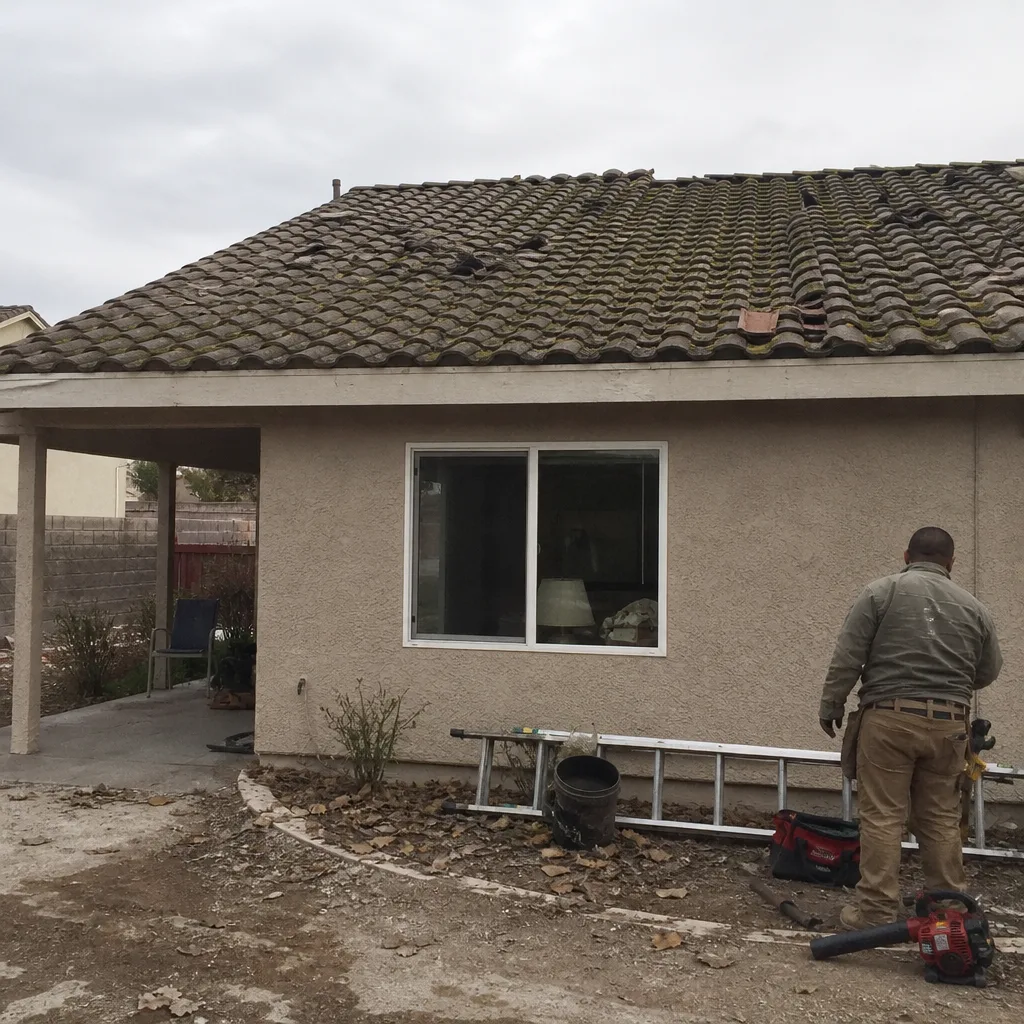
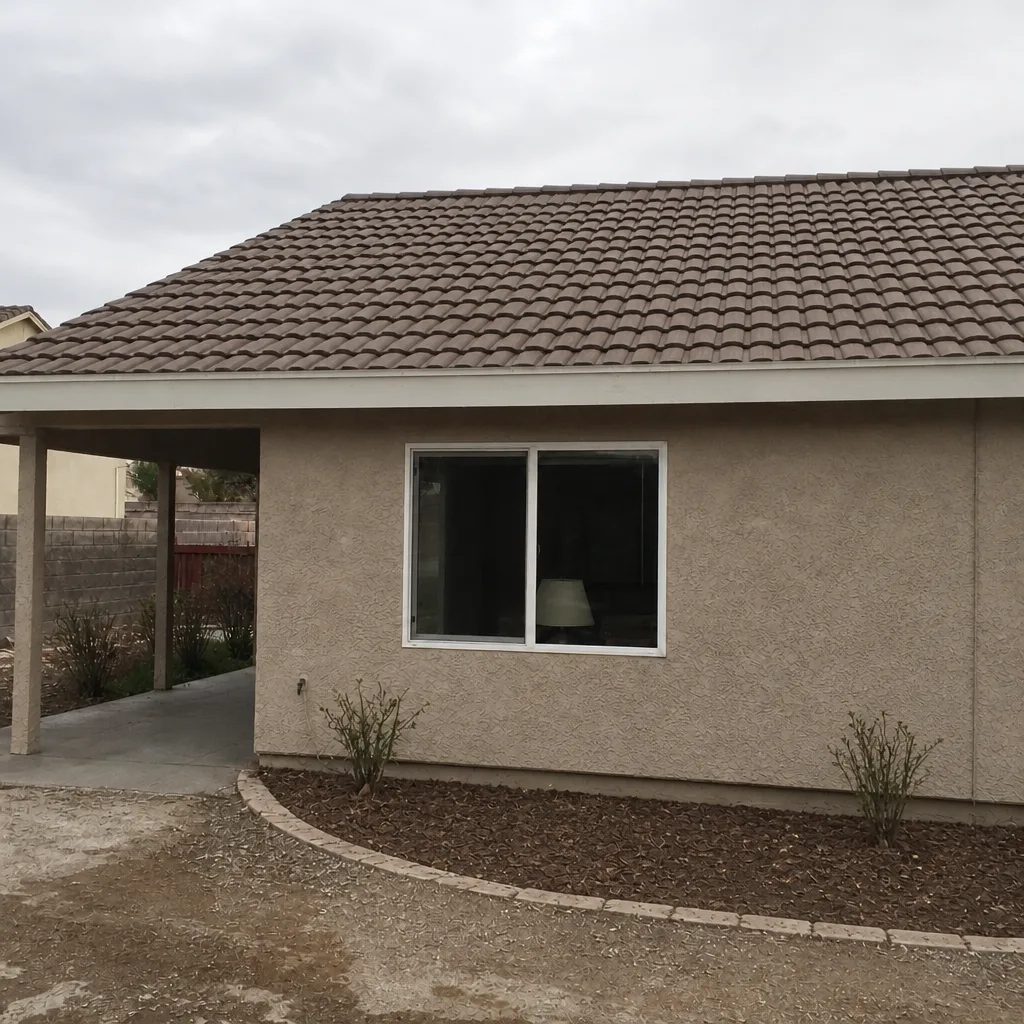
See the difference
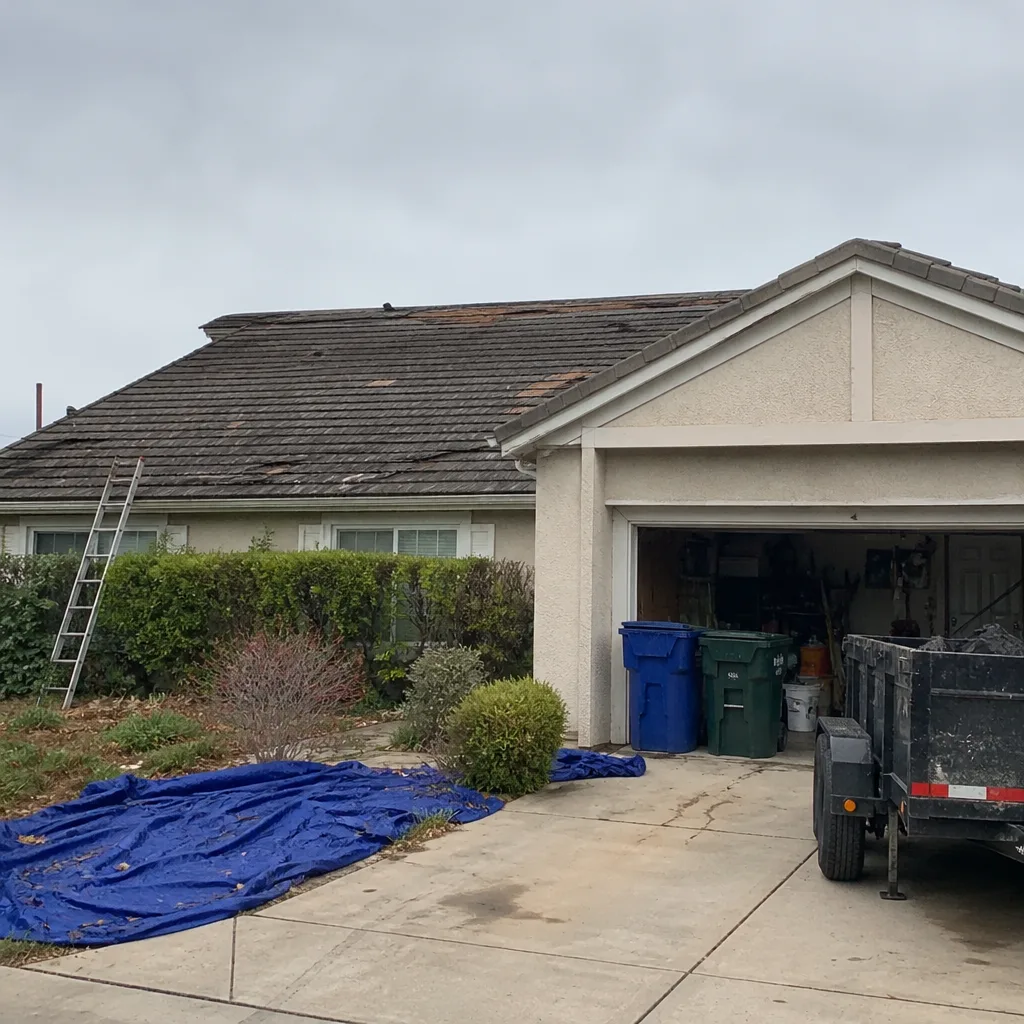 Before
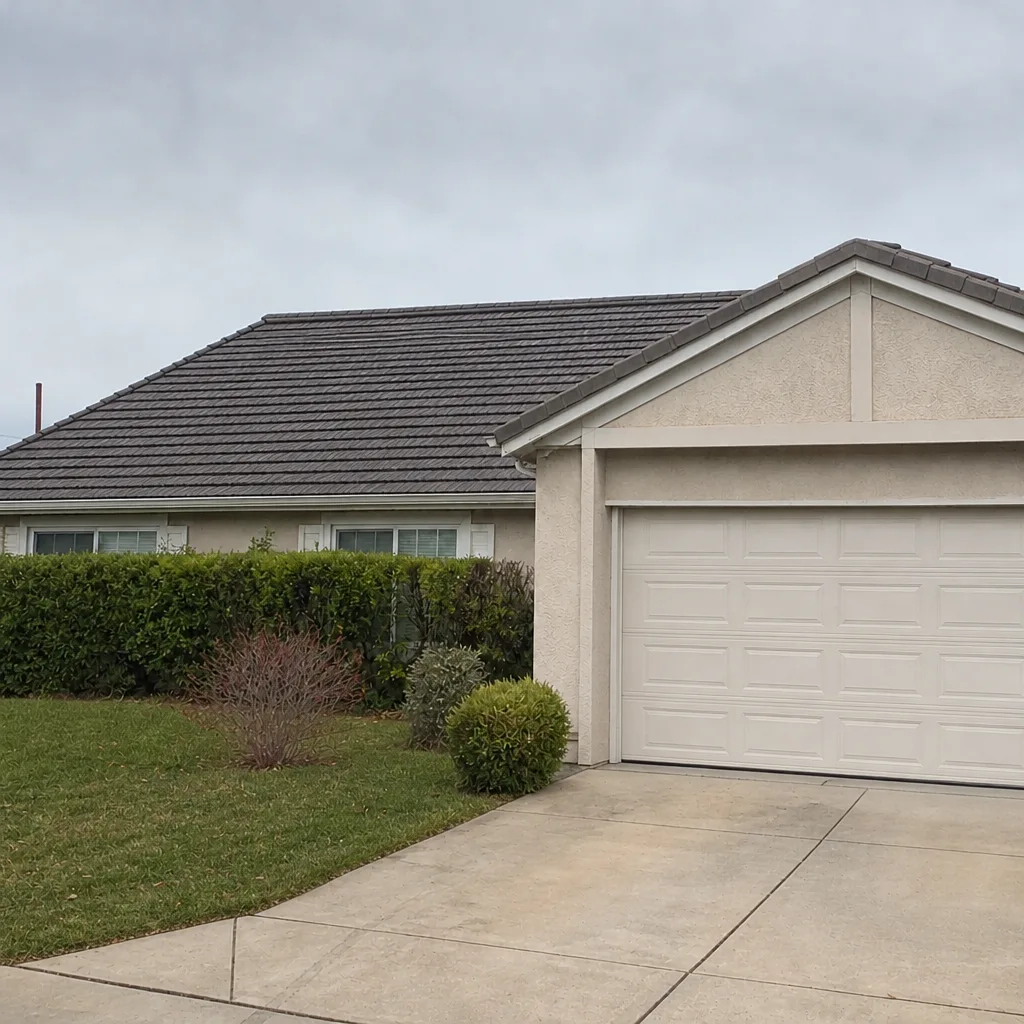 After
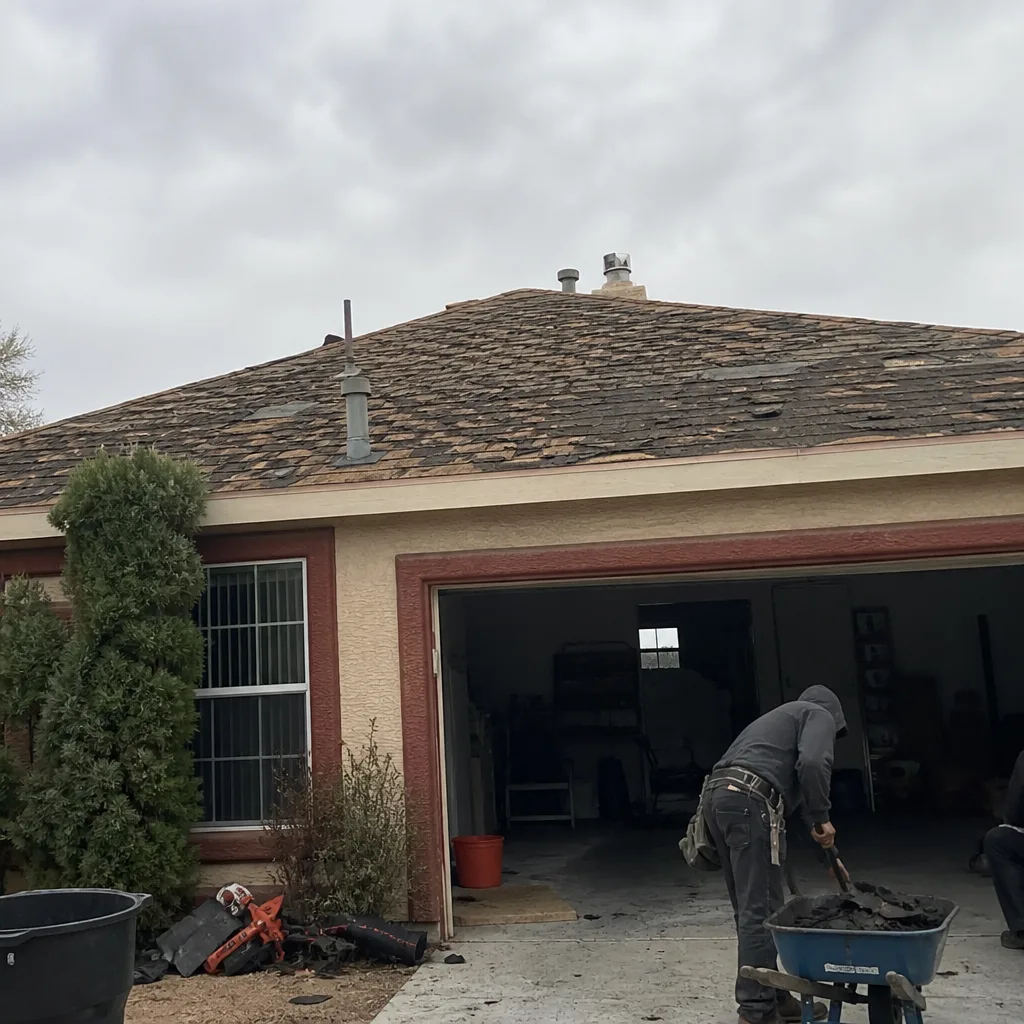 Before
 After
 Before
 After
When to Call a Professional
Call a professional when water is showing inside, when a tire or accessory is damaged, when there’s noticeable sagging or softness, when the attic smells musty, or when you see a problem you can’t safely reach or confirm. Also call if you’re not sure whether the issue is a repair or replacement, because that’s exactly the decision an inspection is built for. A professional is the right call for anything on the roof surface or at height. Roofing Summerlin offers free estimates in Summerlin. Call (833) 932-1305. We answer 24/7. Fast dispatch from 7am to 7pm, Sunday through Friday.
Frequently Asked Questions
Repair pricing depends on what failed and how accessible it is: a pipe boot replacement is one scale, a valley flashing rebuild is another, and a tile or foam repair brings its own material costs. We don’t quote a number before seeing the roof. A written line-item estimate sets the final price, and the estimate is free. Call (833) 932-1305 for an exact quote.
Not for the scope in the written estimate. If we find hidden damage during the repair, such as soft decking or damaged framing, we stop and explain what we found and what it changes before proceeding. You’re never surprised by a change order after the fact.
Permit requirements vary by jurisdiction and by the specific work involved. Most cities require some form of permit for structural roof work, so it’s a reasonable question to ask before any project starts. We handle the permits needed for the scope we’ve quoted and will lay out in the estimate what’s being pulled.
An isolated repair, like a boot or a slipped tile, is usually a short visit. A larger repair that opens a valley or rebuilds a parapet detail takes longer, and we’ll give you a realistic window with the estimate rather than a guess. Monsoon season can affect scheduling, so we’ll tell you what to expect on your date.
Water travels under decking and along framing before it appears inside. On low-slope and tile roofs in Summerlin, the path can run several feet from the actual leak point. That’s why the stain location is a clue, not a diagnosis, and why the exterior is where the source gets found.
If the failure is isolated, a repair is usually the right call. If the underlayment or coating is failing across a large area, or the roof is near the end of its service life with repeated issues, replacement usually makes more financial sense than repeated repairs. An inspection gives you the answer with evidence rather than a guess.
We’re closed on Saturdays. We answer 24/7 and dispatch Sunday through Friday from 7am to 7pm, and a call outside those hours is booked into the next opening. If your roof fails on a Saturday, call and we’ll book you for Sunday.
The Bottom Line
Roof troubleshooting starts with recognizing that the ceiling stain is a symptom, not the source. Map the symptom to the likely exterior cause, and you’re already ahead of most homeowners. The five common failure points in Summerlin, valley flashing, pipe boots, parapet walls, tile slippage, and foam blistering, account for a large share of leaks, and each one has a visual signature you can look for safely from the ground. Use the dry season to inspect the details, document what you find, and get a real diagnosis before you commit to repair or replacement. A true repair addresses the source and lasts; a symptom-mask delays the inevitable. If you want an honest look at what’s on your roof, call Roofing Summerlin at (833) 932-1305 for a free estimate. We answer 24/7. Fast dispatch from 7am to 7pm, Sunday through Friday.
Written by the team at Roofing Summerlin.